

Here are detailed instructions on how to install MMTTY from the MM HamSoft web site. As noted below in the instructions, if you are running Vista or Windows 7 or 8, you will need to install MMTTY in a location other than the default location C:\Program Files\MMTTY. At this time, you should create a directory on your hard drive where you want to install MMTTY such as C:\MMTTY. Once this folder is created, you may begin the installation. Windows XP users can use the default location which will be created automatically in the installation process.
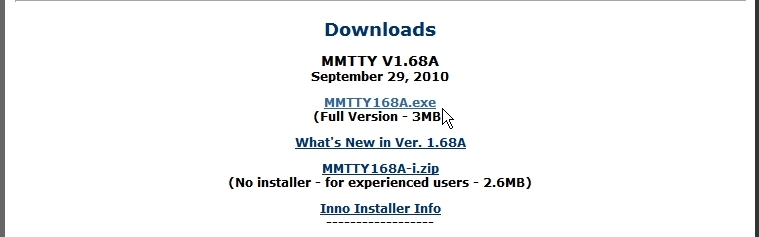
1. Go the MMTTY Home Page here. Scroll down to the Downloads section and locate the link to MMTTY168A.exe Full Version (or whatever the latest version that is showing). Click on this link.
2. When the ‘File Download’ screen appears, choose ‘Run’.

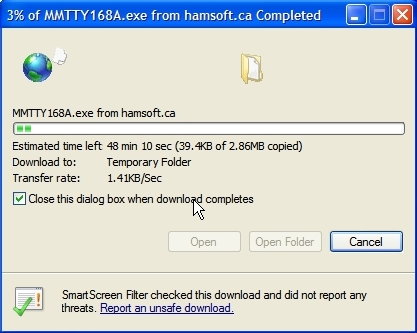
3. You should then see the installation program begin downloading to your computer. Wait until it completes. If you have the ‘Close this dialog box when download completes’ option selected, this screen is close when the downloads completes. Otherwise, if you don’t have this option checked, close this dialog box after the file has been downloaded.
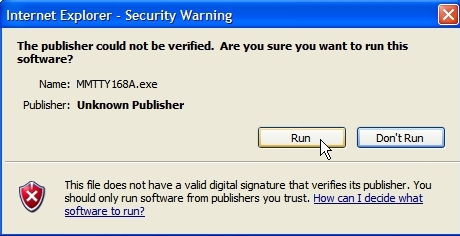
4. When the file download is complete, you will see the screen below. Choose ‘Run’.
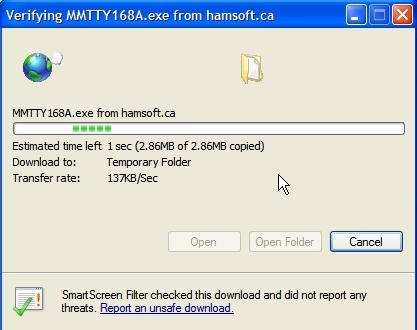
5. The ‘Verifying…’ screen will appear while the installation file is being downloaded to a temporary folder on your hard drive. After the file has downloaded, the Setup window will appear.
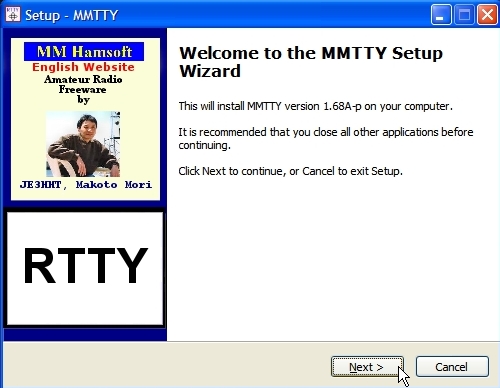
6. When the ‘Setup – MMTTY’ screen appears, close all other applications that may be running on your computer, and click ‘Next’.
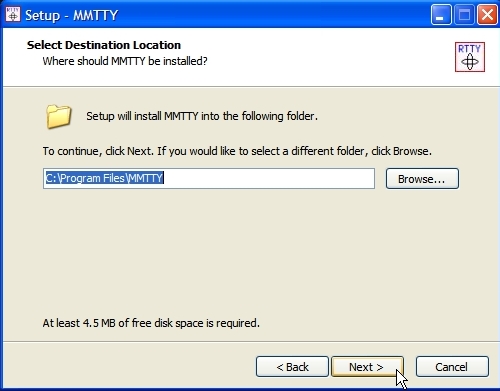
7. The next two screens (not shown here) are for the License Agreement and an Information screen. MMTTY is freeware, so agree to the terms in the first screen and read the information on the Information screen, then click Next. In the next screen (shown below) you will have the option where to install MMTTY. Windows 98 and Windows XP users should use the default location C:\Program Files\MMTTY. Windows Vista and Windows 7 & 8 users should install MMTTY in a different directory such as C:\MMTTY or any directory other than C:\Program Files\MMTTY. In order to install MMTTY in a directory other than C:\Program Files\MMTTY, click the Browse button and navigate to the directory where you want to install MMTTY.
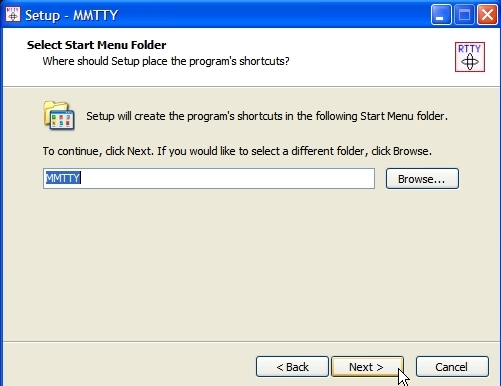
8. All users may use ‘MMTTY’ as the program’s shortcut in the Start Menu Folder. Click ‘Next’.
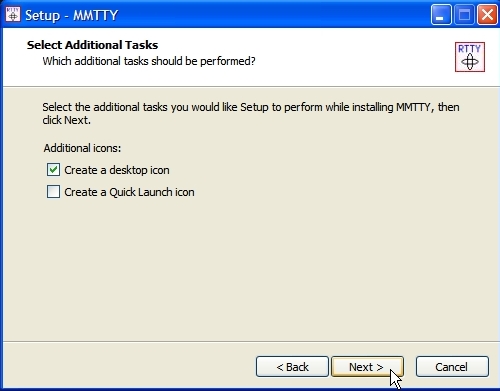
9. It’s a good idea to create a desktop icon. A Quick Launch icon can also be created if desired. Click ‘Next’.
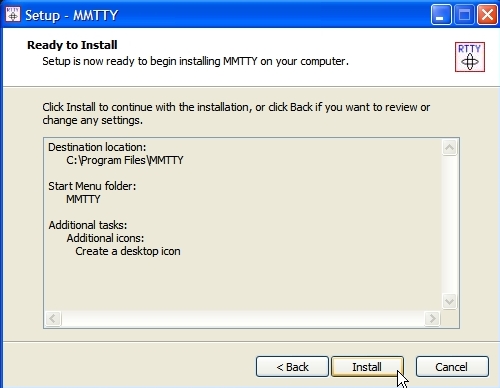
10. Verify the destination location, start menu folder and additional tasks such as creating desktop and/or quick start icons, the click ‘Next’. If the information shown on this screen is not correct, click the ‘Back’ button to go back and make changes or corrections.
11. Read through the Information screen. There is good information here, although it is not critical to the installation.

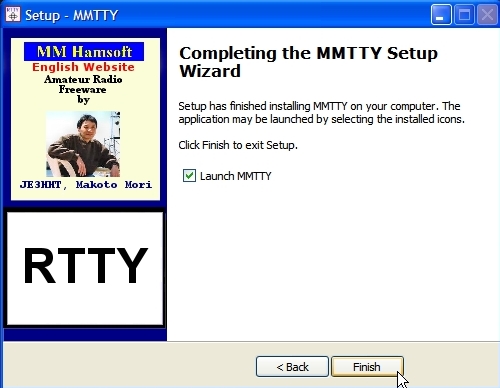
12. When the setup is completed, you have the option to ‘Launch MMTTY’. Click ‘Finish’.
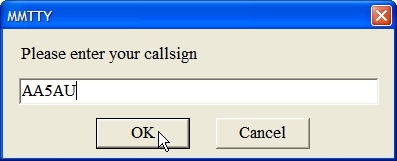
13. MMTTY will start and a dialog box will display where you will enter your callsign. Enter your callsign and click ‘OK’.
This completes the installation process.
Continue to Page 2 of Getting Started on RTTY – Running MMTTY