Clearing Rttyrite Sections from writelog.ini
Over time, the Rttyrite sections in writelog.ini can break or get cluttered. This has been known to cause issues, in particular, when upgrading to XMMT.ocx support for MMTTY and 2Tone. When this happens, the easiest and fastest way to fix these problems is to delete all the Rttyrite sections in writelog.ini and start from new. If you are concerned with this procedure, copy your writelog.ini file to another location on your hard drive before starting this process.
NOTE: This procedure is for WriteLog version 11 only and the process is slightly different depending on the operating system in use. In Windows XP, there is only one writelog.ini file and it is located in the C:\Windows directory. Windows Vista and Windows 7 & 8 users need to access writelog.ini via the WriteLog menu in your Programs Menu from the Window Start button.
If you are using WriteLog version 12, you can still clear out the Rttyrite section of your INI file but you edit the INI file differently. Refer to this page here on how to edit the INI file in version 12.
These instructions are for deleting Rttyrite sections in the writelog.ini file.
1. Close WriteLog if it is running. Windows XP users access writelog.ini in the C:\Windows directory. This can be done by clicking Start > Click Run and type writelog.ini in the Run window and hit enter. Windows Vista, Windows 7 and Windows 8 users access writelog.ini via the WriteLog menu in your Programs Menu from the Windows Start button.
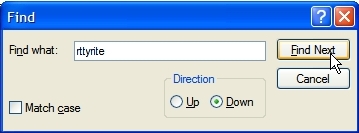
2.Writelog.ini will open in your default text editor which may be Notepad. If writelog.ini opens in Notepad, use CTRL-F to bring up the Find window. Type in rttyrite in the Find what: dialog box and click Find Next. This will find the first instance of rttyrite in the file. NOTE: There are several sections in the writelog.ini file. Each section in writelog.ini begins with a title for that particular section. The titles are set in brackets [ ]. For instance, the Rttyrite section starts with the title [Rttyrite]. Everything under the title are parameters, referred to as entries, for that particular section. The end of a section is when you come to another title that starts the next section. In short, writelog.ini is made up of sections. Each section consists of a title and entries under the title.
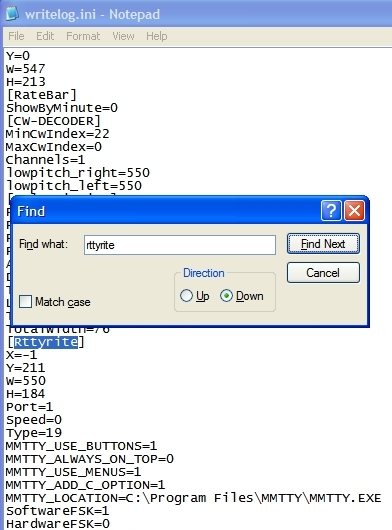
3. The first instance of Rttyrite should be [Rttyrite] as shown here.
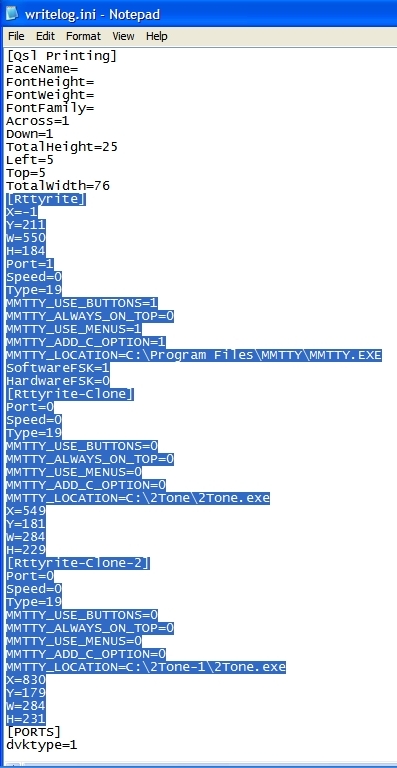
4. When you find a section with Rttyrite or some variation of Rttyrite in it, highlight all the entries under the title, including the title, until you get to the next section and hit the Delete key on your keyboard. There may be several sections referring to Rttyrite such as [Rttyrite], [Rttyrite2], [Rttyrite-Clone], [Rttyrite-Clone-2], etc. Be very careful to only delete titles and entries in Rttyrite sections. In the example below, the [Rttyrite], [Rttyrite-Clone] and [Rttyrite-Clone2] sections are all together and may all deleted at once. However, this is normally not the case. Search each instance of Rttyrite and delete each section, including the title.
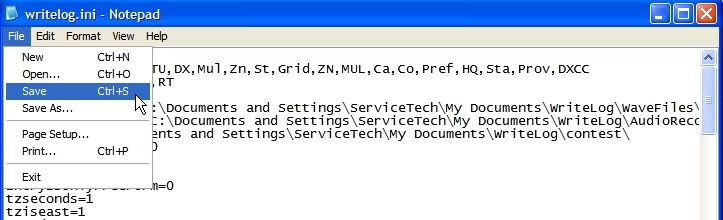
5. When all Rttyrite sections have been deleted, save your file by either typing CTRL-S or using the Save entry under the File menu. After saving the file, close the text editor. This completes deleting Rttyrite sections in writelog.ini. You may now restart WriteLog, open a RTTY Window, and try configuring again.