
DigiRite – Build Requirements
THESE INSTRUCTIONS ARE FOR DIGIRITE 2.2.2.11 OR EARLIER. THE REQUIRMENTS HAVE CHANGED FOR LATER VERSIONS (DECEMBER 2024 AND BEYOND). THIS PAGE IS FOR REFERENCE ONLY.
If you are interesting in building DigiRite from source, there are specific requirements that must be met first. You will need to download files and install programs on your PC in order to build DigiRite. It is the purpose of this page to walk you through the process of getting these requirements. Once you have the requirements, a tutorial has been written that will walk you through the build process.
I don’t pretend to know what all of these files and programs are. I only know they are required. I put them on my computer and now I can build DigiRite. All the downloads were done using Chrome. If you use a different browser adapt the procedure accordingly.
Here is a list of what is required to build DigiRite:
1. Boost – Specifically, Boost 1.67.0 is required. According to the Boost website “Boost provides free peer-reviewed portable C++ source libraries.” My guess is that Boost 1.67.0 is a portable C++ source library. Boost is not a program. It is a series of files and folders that are placed into one directory named boost_1_67_0. The boost_1_67_0 directory contains 65,422 files in 5,481 folders taking up 659 MB of disk space. This should be no sweat if you have a modern PC running Windows 10.
The boost 1.67.0 download comes in a zipped file named boost_1_67_0.zip. The direct download URL is:
https://dl.bintray.com/boostorg/release/1.67.0/source/boost_1_67_0.zip
Download Boost from the link above. When the download is complete, open the zipped file from within Chrome as shown below or from Window Explorer (now called File Explorer in Windows 10).
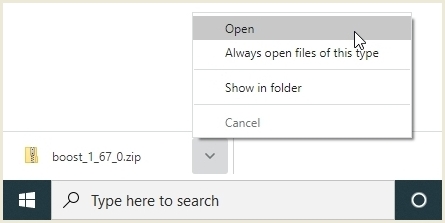
Inside the zipped file is one folder named “boost_1_67_0”. When the zipped file is opened, choose to Extract All.
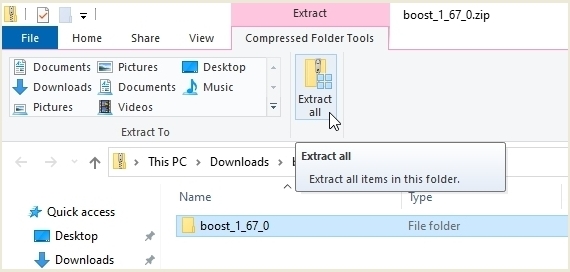
Navigate to a location on your hard drive where you would like to extract the folder “boost_1_67_0” to. I extracted the folder to the WriteLog sub-directory in My Documents since it pertains to WriteLog. It doesn’t matter where you extract the folder just as long as you remember where you put it. Be patient as there are 65,422 files in this folder that need be extracted. This can take several minutes depending on processor speed and memory of your PC.
Once the files are extracted, you are finished with Boost. Nothing else needs to be done until the build process.
2. XDwsjtFtSdk-2.1.0.4 – The next set of files you need to get is called XDwsjtFtSdk-2.1.0.4. They come in a zipped file named XDwsjtFtSdk-2.1.0.4.zip which is much smaller than Boost at only 3.5 MB in size. These files are the already-built FORTRAN codes from WSJT-X.
The direct download for the zipped file is:
https://github.com/w5xd/Digi-XDwsjt/raw/master/XDwsjtFtSdk-2.1.0.4.zip
Download XDwsjtFtSdk-2.1.0.4.zip from the link above. When the download is complete, open the zipped file from within Chrome as shown below or File Explorer. (NOTE: If you are building the latest DigiRite beta version 2.2.1, you will need this one instead. https://github.com/w5xd/Digi-XDwsjt/raw/VERSION-2.2.1-Beta/XDwsjtFtSdk-2.2.1.3.zip.
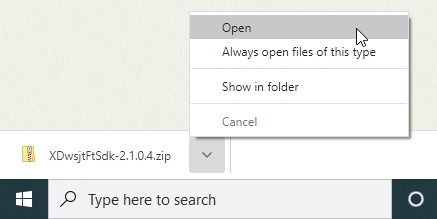
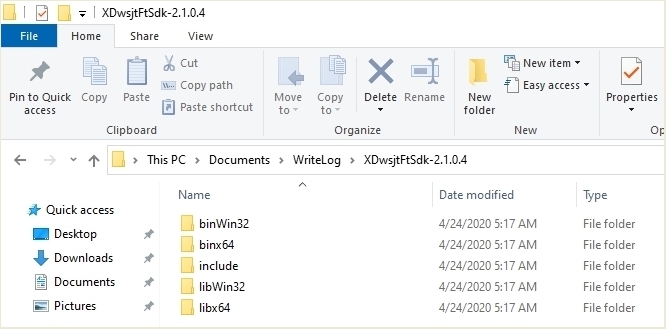
Inside the zipped file are five folders. When the zipped file is opened, choose to Extract All.
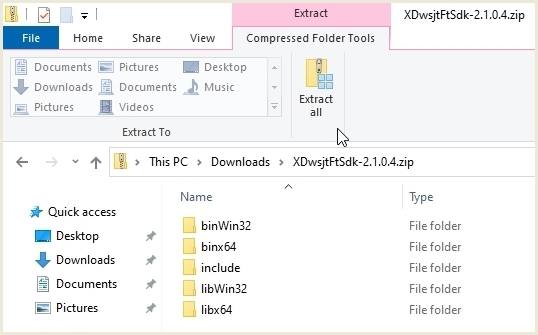
Navigate to a location on your hard drive where you want to extract the files to. Since there are five folders in the zipped file, I created a new sub-directory in my WriteLog folder named XDwsjtFtSdk-2.1.0.4 and then extracted the five folders to that sub-directory.
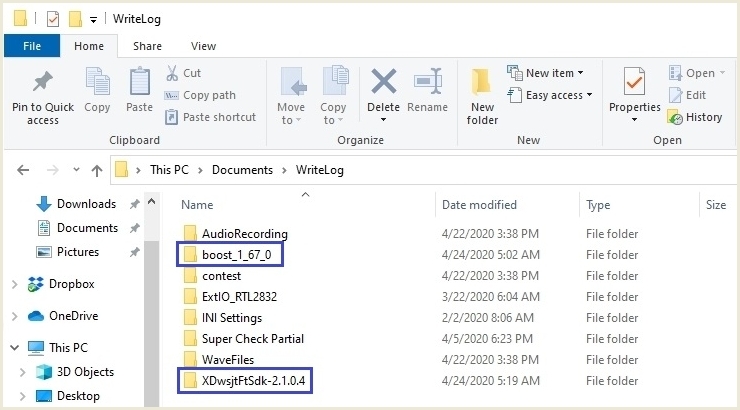
When finished, I had two new folders in my WriteLog sub-directory – one named “boost_1_67_0” and the other named “XDwsjtFtSdk-2.1.0.4”.
This completes downloading of XDwsjtFtSdk-2.1.0.4. Nothing else needs to be done until the build.
3. Visual Studio – Visual Studio, also referred to as VS, is the program that will build DigiRite. Specifically, you need Visual Studio Community 2019. It can be downloaded from this page:
https://visualstudio.microsoft.com/downloads/
The one you want looks like this:

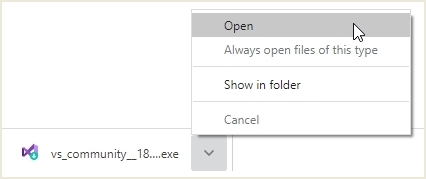
When you click the “Free download” button, the VS installer will download. Open it from within Chrome or from File Explorer.
A Visual Studio Installer window will open telling you that it needs to set up a few things so that you can configure your installation. Click “Continue”.
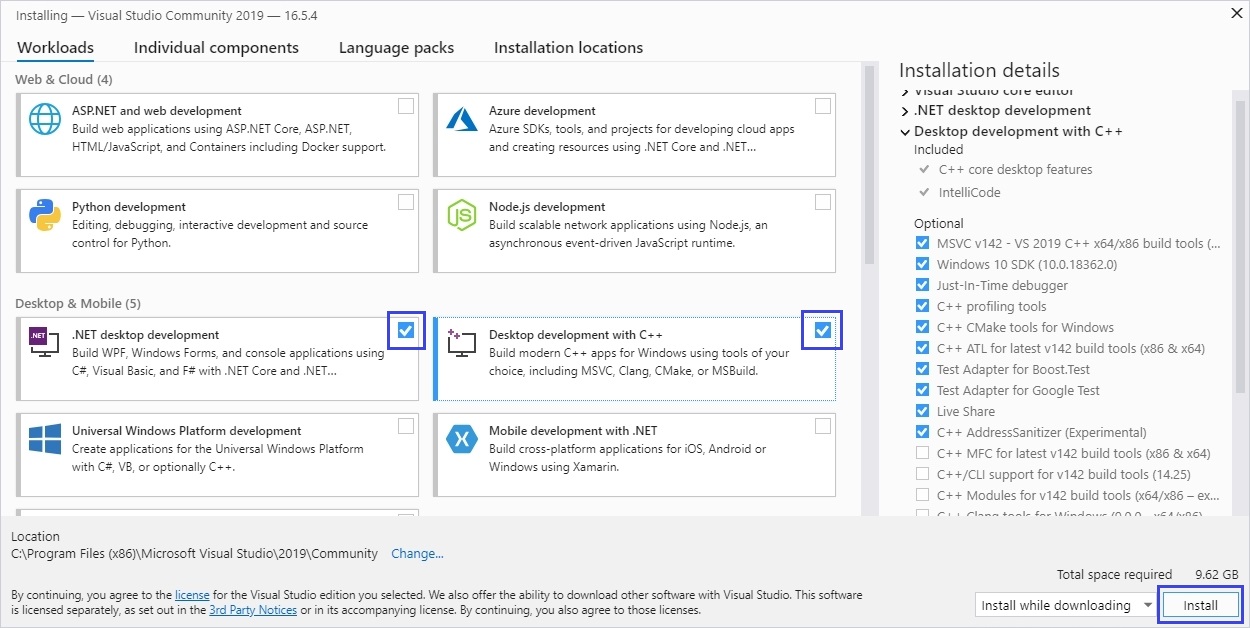
The installer will open to a window where you can select different items to install. In the “Desktop & Mobile (5)” area, select both “.NET desktop development” and “Desktop development with C++” as shown here, then click “Install”.
The installer will begin to install Visual Studio.
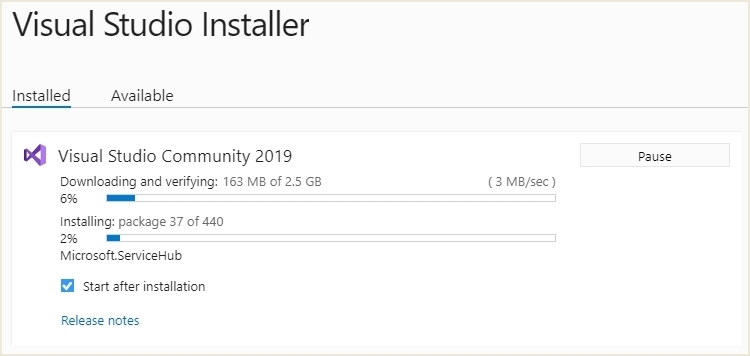
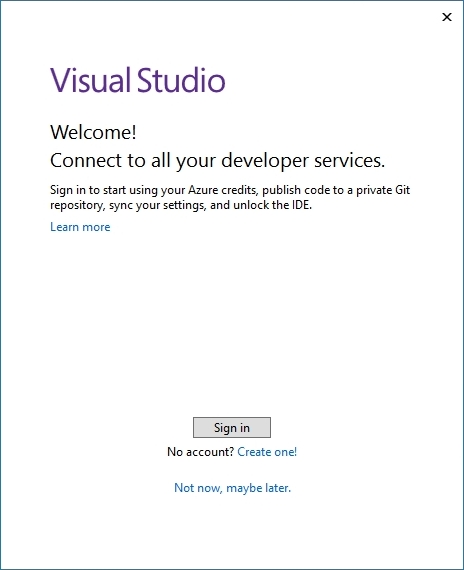
The Visual Studio installation may take several minutes. Be patient. When the installation is complete, Visual Studio will open to a Welcome screen asking you to sign into your Microsoft Account. There is an option to skip the sign in with “Not now, maybe later”. However, Microsoft will require you to create a free account after about 30 days or the program may not work. If you don’t already have a Microsoft Account, it’s probably best to create one now so you can continue building without interruption. If you have a Microsoft account, you only have to sign in once and not each time when opening VS.
After you have signed in, VS will open. For now, close it. Also close the VS Installer. You are finished with VS for now.
4. WiX & WiX Toolset Visual Studio 2019 Extension – There are two WiX downloads that are required. Both need to be installed. WiX is required to build the MSI installation file created during the build.
WiX requires .NET Framework 3.5.1 for Windows to be enabled on your PC or will not install. It’s likely .NET Framework is already enabled but it’s easy to check. So let’s do that so we won’t get an error when we try to install WiX.
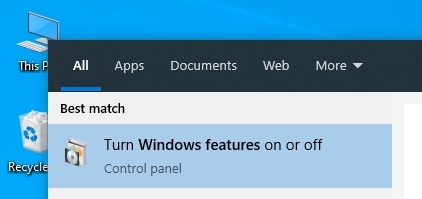
In the Windows Search box type “windows features”.
![]()
The result should show “Turn Windows features on or off” via the Control Panel. Select this option.
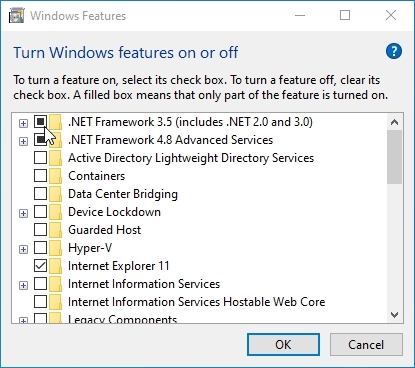
Check to see if “.NET Framework 3.5 (includes .NET 2.0 and 3.0)” is enabled as shown below. If it isn’t ticked, then tick it (as shown). Then click OK. If it was enabled, click cancel and continue on to the next step below. If it wasn’t ticked and you ticked it, select “Let Windows Update download the files for you” (not shown) when it appears. Windows will then download and install the necessary files for you. When completed, click “Close”.
Once you have determined that .NET Framework is enabled, you are ready to continue with the WiX downloads.
Both downloads are located on the same page and are outlined in blue in the screenshot below. The address to the download links is:
https://wixtoolset.org/releases/
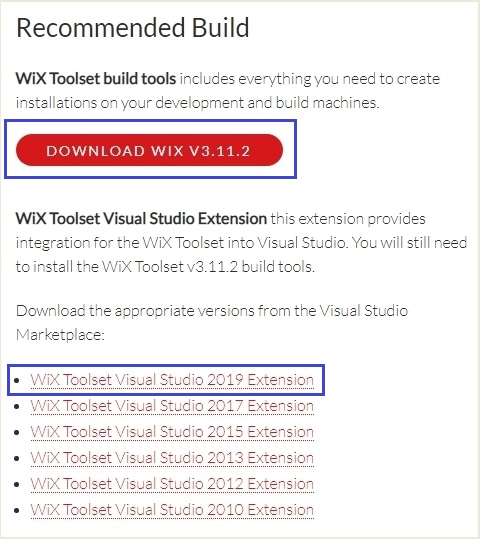
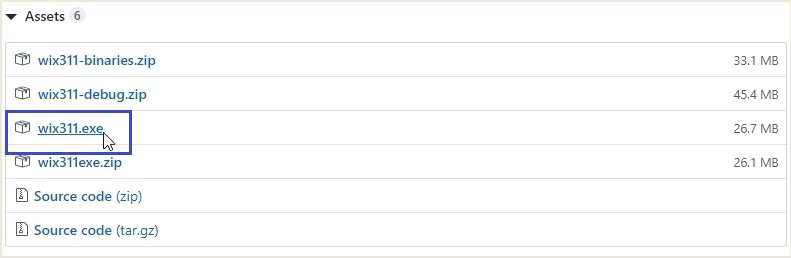
Download and install WiX V3.11.2 first. When you click on the red “DOWNLOAD WIX V3.11.2” button, the download page for WiX V3.11.2 will open. Scroll down until you see the Assets listed. To start the download click the wix311.exe link as shown.
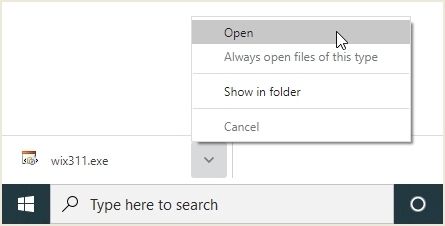
When the download is complete, open the file from Chrome or File Explorer to start the installation.
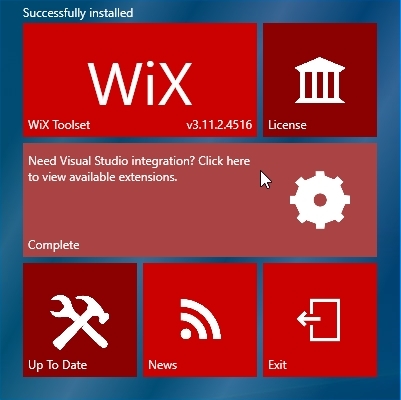
The WiX v3.11.2 installer will open. Click the middle section containing the gear icon that says “Install” to start the installation.
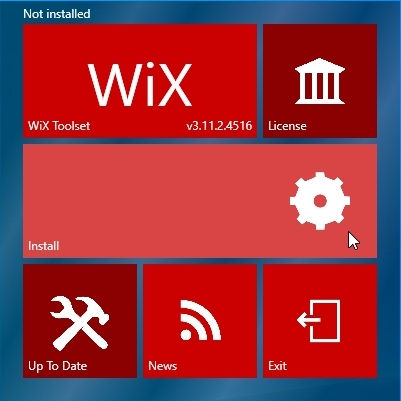
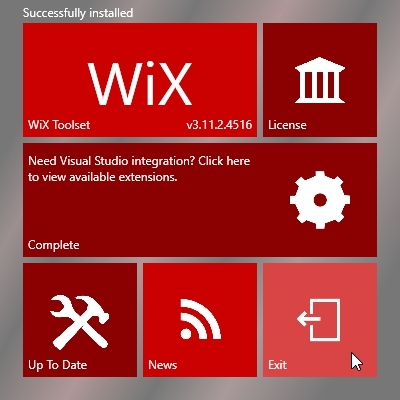
When the installation is complete, do not click “Exit”, instead, click the middle section with the gear where it says “Need Visual Studio integrations? Click here to view available extensions.”
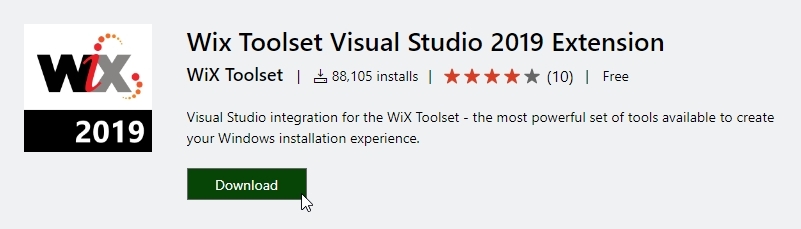
This brings you back to the original downloads page where you now select “WiX Toolset Visual Studio 2019 Extension”.

This brings you to the WiX Toolset Visual Studio 2019 Extension download page. Click the green “Download” button to begin the download.
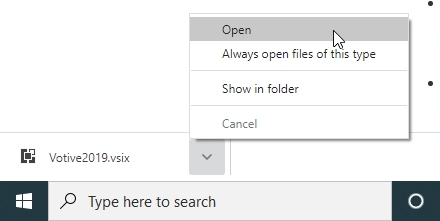
When the download is complete, open the file from Chrome or File Explorer.
When the installer opens, click “Install”.
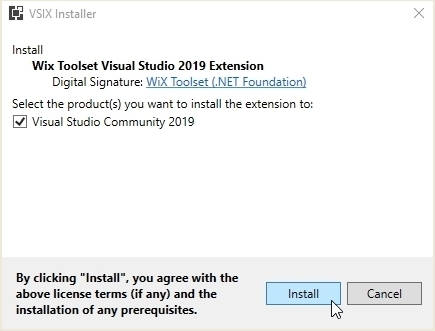
When the installation is complete, click “Close” to close the installer.

If the original installer is open, click Exit to close it. This completes both WiX installations.
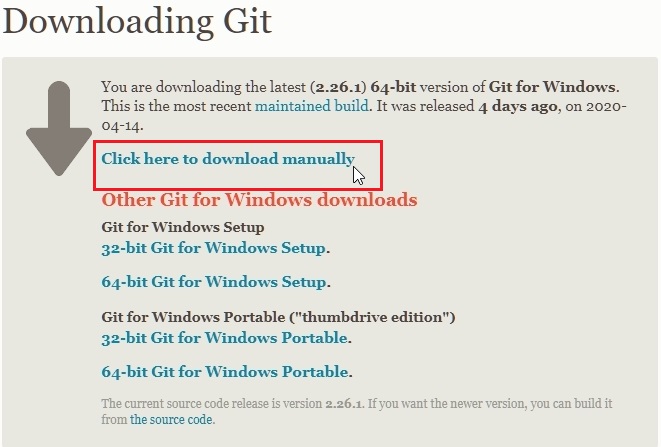
5. Git – Specifically “Git for Windows”. The final program to download and install is Git. The Git download page is here:
https://git-scm.com/download/win
The Git download is straightforward. The “Click here to download manually” link will download version of Git for your PC.
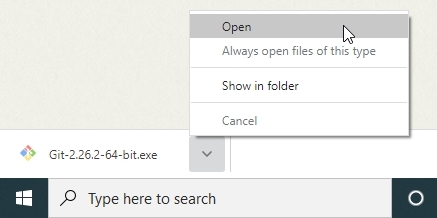
Once Git is downloaded, open the file from Chrome or File Explorer.
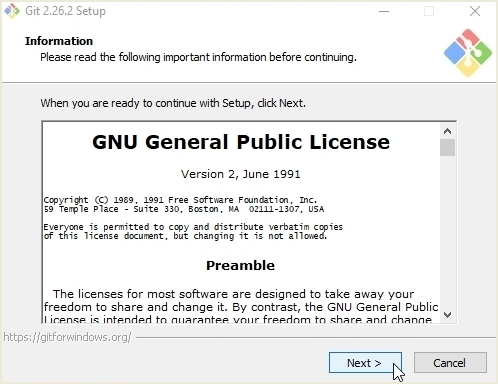
The Git Setup screen will appear. Click “Next” to start the installation. There are 8 or 9 setup screens in the installation process. Leave all screens defaulted and continue to click “Next” until you are finished and the installer closes. This completes the Git installation.
You now have all the tools necessary to build DigiRite. Continue to the DigiRite Build page and starting building!