
WriteLog RTTY Starter Page 15
Undocking Windows
Although not previously mentioned, undocking different WriteLog windows from the main WriteLog window needs to be explained. The Rttyrite window, Band Map, Packet window and MMTTY RTTY Control Panel (if used) cannot be part of the main WriteLog window. They will always be in their own window. However, all other windows can be part of the main WriteLog window and this may or may not be desirable. Personally, I prefer all my WriteLog windows to be undocked from the main WriteLog window. In the Window menu of the main WriteLog window, all window options below the horizontal line starting with “QSO Entry Window” can be docked or undocked from the main WriteLog window.
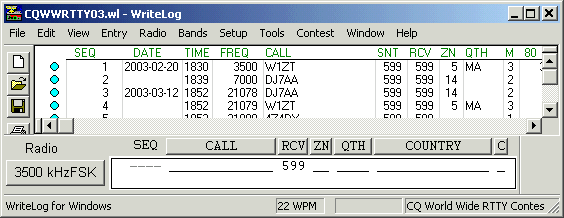
Sometimes when you activate one of these windows, it will be docked to the main WriteLog window and totally mess up how you have your main window configured. For example, below is the main window before opening the Packet Spots window.
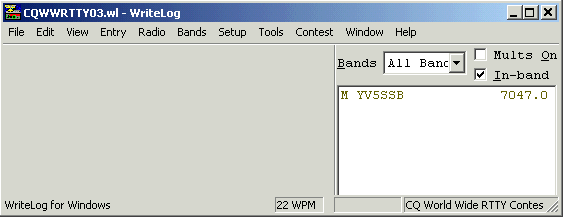
This is what the window could look like after opening the Packet Spots window (or any other window that can be docked). Ouch, what happened to my log?
Don’t despair. The Packet Spots window can be undocked from the main WriteLog window and the main window will return to its normal state. To undock a window from the main window, move your cursor along the inside edge of the window you want to undock until you see the cursor change to a small rectangle with a plus sign (+) just above it to the left. When you get this cursor, hold down the Shift key on the keyboard and drag the window you are trying to undock away from the main WriteLog window with the mouse. This will undock it. To dock an undocked window, just drag it with the mouse into the main WriteLog window and it will dock, but prepared to do some window rearrangement. Once you get the hang of it, it’s not too bad.
Band Map Show Band Edges Option
There are two more Band Map options not shown on the previous page that need to be covered. Go back to the Band Map File menu. There are two options, which are of some importance. The first one is Show Band Edges option.
When activated, a solid colored line will show on the Bandmap showing the mode subbands as shown below on the left. From the Bandmap Colors chart (center) we see that the wide green line is for CW and the red line is for Digital (RTTY). And we can see that our RTTY subband begins at 14075 where we set it on the previous page. Unless you are really worried about band edges, this option can remain turned off (unchecked).
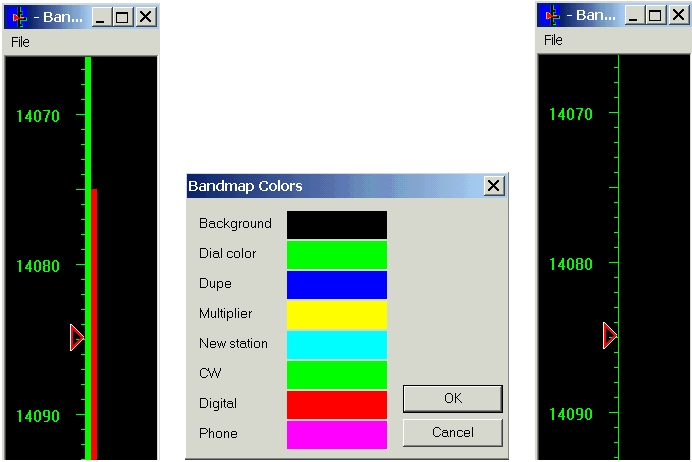
You can change the default colors of the Band Map with the Bandmap Colors option in the window shown above but the default colors work fine. I personally prefer dupes to show up on the Band Map in Red. So I have changed the dark blue Dupe color to Red. To change colors, select “Select Colors” from the File menu on the Band Map, then single click the color with the mouse.
Band Map Restrict clicks to legal bands Option
The other item that is of importance in the Band Map File menu is the Restrict clicks to legal bands option. This option should be unchecked and not used. Remember, we modified the default RTTY sub-bands on the previous page to better filter Packetcluster spots. Even so, it’s possible a station will be spotted that is outside the RTTY sub-band and the spot could show up on the Band Map (it will not show up in the Packet Spots window if it’s outside the modified RTTY sub-bands and the “In-band Only” option is activated). If you have the Restrict clicks to legal bands option checked, you would be unable to click on a spotted call outside the sub-band.